I’m going to start this post with a great quote:
“Every loaf of bread is a tragic story of grains that could have become beer, but didn’t.”
Walter Thornburgh
Isn’t that soooo true … Well I guess this is going to be a tragic story then!
Sourdough History
Let touch on the history of sourdough. Sourdough dates back to 3000BC in ancient Egypt and is the oldest form of a leaven (also called levain) bread. Leavened bread is a bread that contains an agent to rise the bread. Well obviously there was no yeast, baking soda or baking powder in ancient times. What happened was probably they had left bread dough out and the flora and microorganisms took to the mixture. The result was a bread that would rise by itself, was lighter and tasted better. And would have been considered sourdough bread.
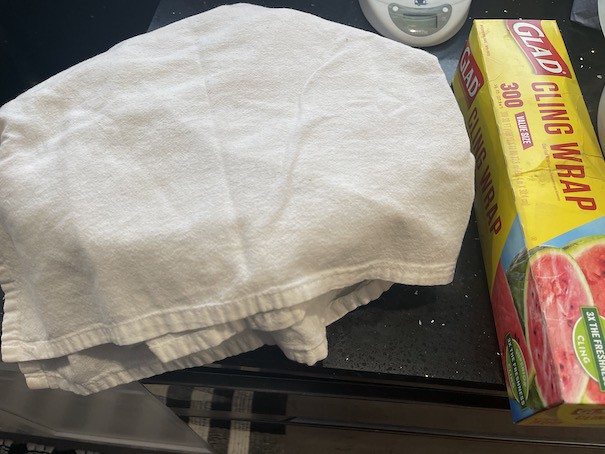
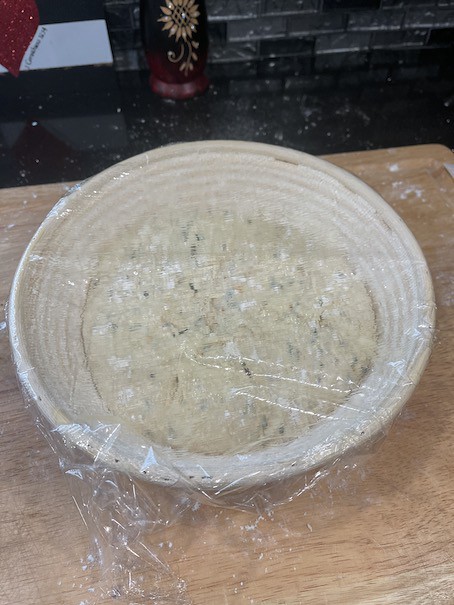
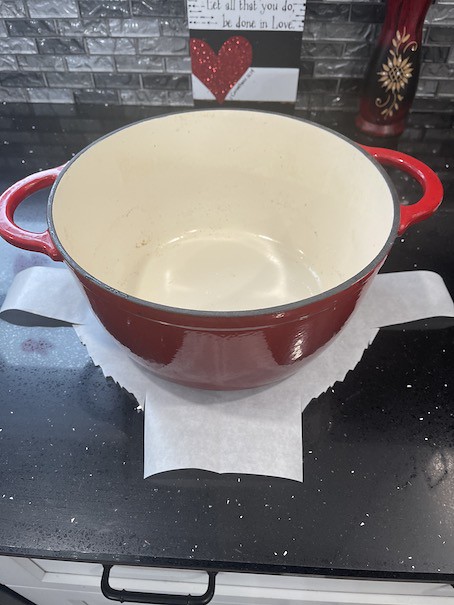
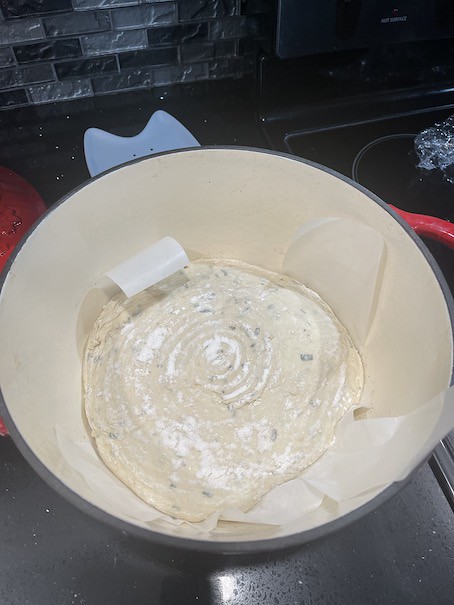
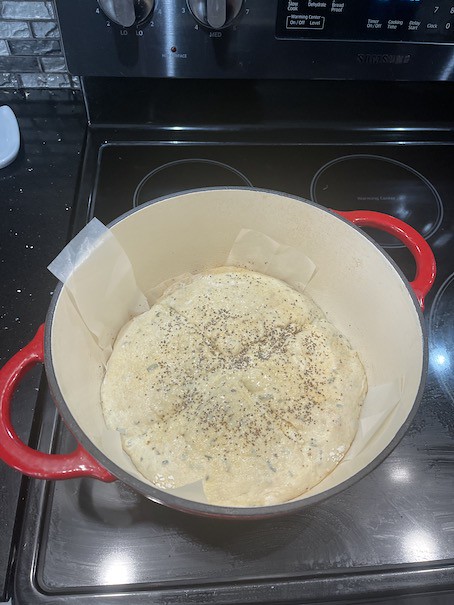
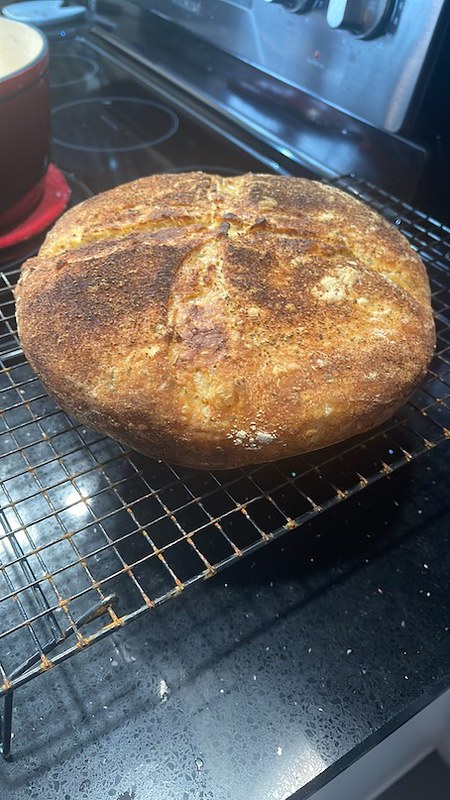
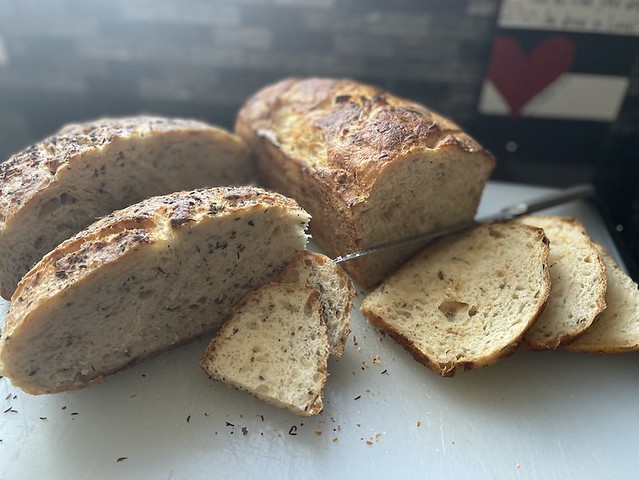
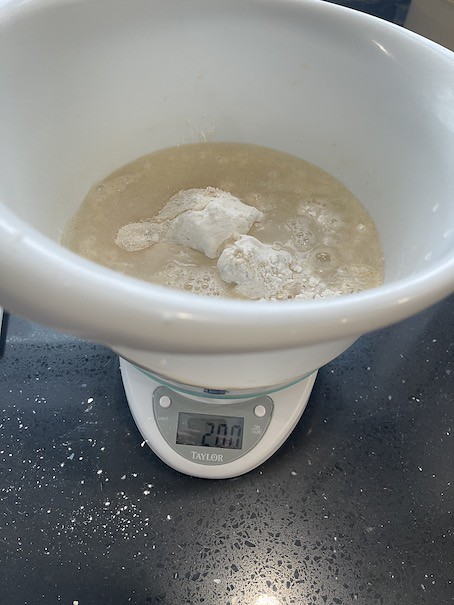
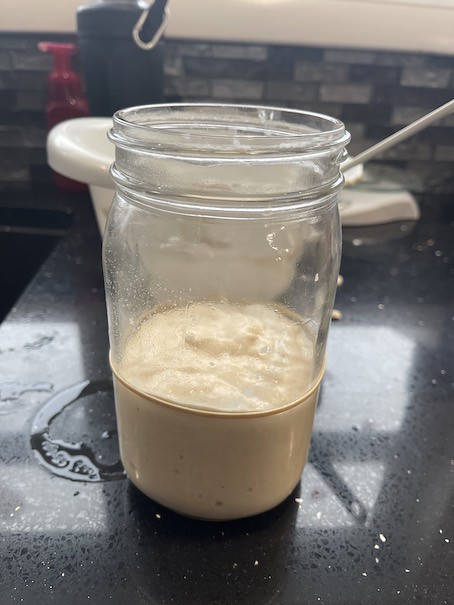
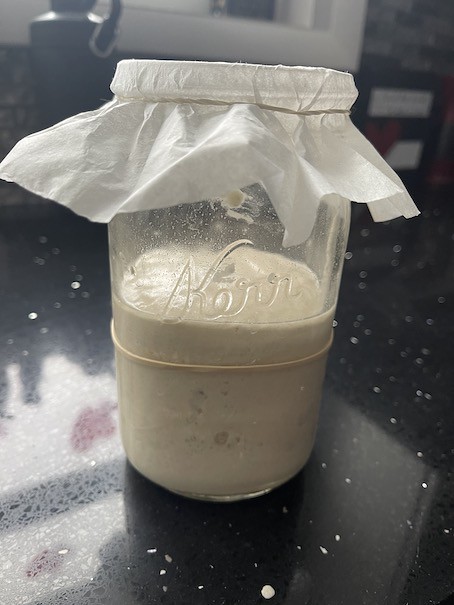
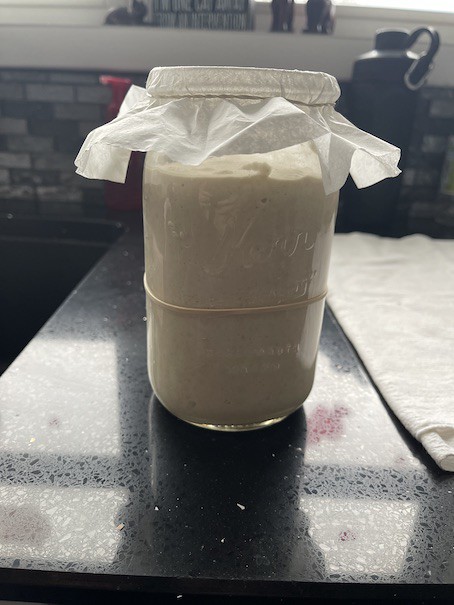
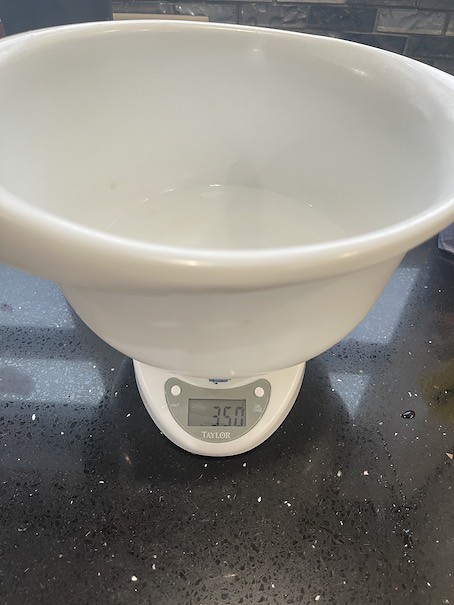
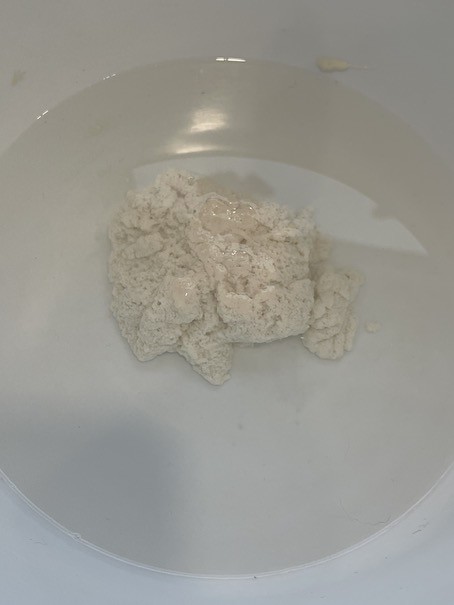
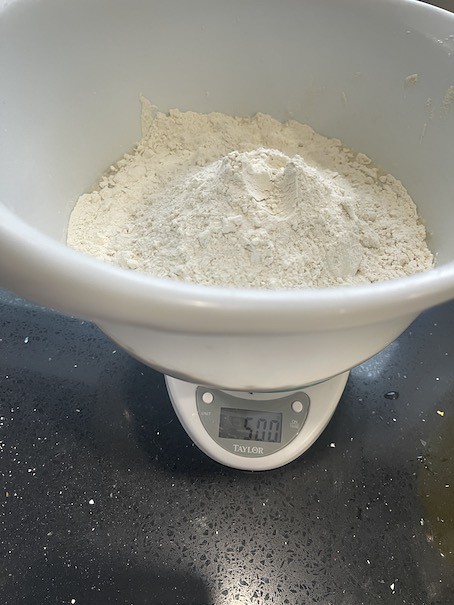
Click here to see the info: All sourdough bread needs to begin from a starter. A sourdough starter is a mixture of flour, water and sometimes sugar. Sits at ambient room temperature and allows wild yeast and flora in the air, and the grain/flour, to inoculate the mixture. The starter’s fermentation will occur in a few days and will give the starter its “sour” taste and smell. After the initial growth of the starter it is ready to use, for years and years, if fed and treated right! Once you have a strong and thriving starter all you need to do is replenish it, keep it stored in the refrigerator (or cool dark place), and it will last indefinitely. If your starter turns color, has a pink or orange tint, colored streaks or it just smells “off” to you … toss it, because it has gone bad. Leaving it out too long, two-weeks or more, leaving it uncovered and gets some contaminated with “bad” bacteria … could and will make your starter go bad. The “off” smell I was referring to is from the creation of acetic acid from a stressed out and/or starved culture. It will smell like vinegar or nail polish remover, so if this happens … when it doubt toss it and start over. Making a starter! It’s simple to do … trust me. What “equipment” you’ll need is: Now the ingredients: This is a simple one for the starter Flour Water Existing Culture Now I’m going to skip making a starter culture from scratch … there is numerous ways and just as many articles out there in the process … Allot at least (8) days for making up a starter from scratch first off. Here is a good link(s) for starting from square one: What I’m showing you is how to start from an existing sourdough starter / culture. These steps are the same I use for maintenance feedings as well for your leaven starter. When it’s time to refresh the culture, use the same container as a permanent home and don’t wash out the container. If the container DOES need to be washed though, feel free. Discard all of the original / previous starter except for the required retained culture amount noted below. Standard Size Starter – 450 grams – [100% Hydration] Double Size Starter – 850 grams – [100% Hydration] Mix by hand until all combined. Cover and let sit at room temperature for 20 to 24 hours, then refrigerate. I’ll be making a standard 450 gram starter this time … Start with measuring out 200 grams (or 1-1/4 cup + 2 Tbsp + 2-1/2 tsp) of flour in a bowl. Then zero out / tare the scale and add 200 grams (or 3/4 cup + 1 Tbsp + 1 tsp) of tepid water Then zero out / tare the scale again and add 50 grams (or 1/4 cup) of retained starter culture Next discard all of the original starter from the vessel. If you don’t discard the initial starter it will grow too big and be difficult to manage. Only make starters to the size you intend to use timely. Mix thoroughly by hand, or with a spatula or spoon, and pour into your vessel. Trying not to spill over the rim … which luckily I did not miss for the picture! Once all the starter is in the vessel / jar mark the level with a rubber band or marker Then cover with a coffee filter, cheese cloth or plastic wrap Monitor the starter … after (1) hour you’ll see there has been some growth and activity After (2) hours just over doubled in size … As you see, allow room in your vessel for growth. At the (3) hour mark (yes the jar is ALMOST filled!) … At this point I’m loosely putting a lid on the jar and putting into the refrigerator to slow down and to keep until next weekend for baking. That all you need to do for maintenance feedings or replenishing your sourdough starter. Now that you know how to make and feed a starter … next making and baking bread with your starter! First off there are soo0 many sourdough bread recipes out there. Standard sourdough bread, rustic sourdough bread, sourdough pretzels, then even to sourdough waffles, pancakes and pizza crust. All can be made with sourdough and much more! What I’m going to show is just a tried and true, very simple sourdough bread recipe (4) ingredients. Sourdough Bread Recipe – [70% Hydration] First, measure out your warm / tepid water – 350 grams (or 1-1/2 cup and 2 tbls) Then add your 50 grams (or 1/4 cup) active sourdough starter culture. The best time to do this is about 3 to 4 hrs after a fresh feeding of the starter. Not necessary but it will ensure the starter is at it’s prime / peak. Throughly mix the combine the sourdough starter and water. If you are using a food scale, zero out / tare the scale and add 500 grams (or 4 cups + 2 Tbsp) for white flour or bread flour. And last of the ingredients is salt. Again zero out / tare the scale, if you are using one, and add 10 grams (or 1/1/2 tsp) of plain old table salt. Next combine, mix and fold the dough – This can be done by hand, with a spatula or mixer. If you are using a mixer, just operate the mixer on slow until the flour and water are complete mixed together. Do not over do to for this step …. it is not needed since we’ll be doing a bulk rise / fermentation. Once combined let for dough sit / rest for 30mins to 1hr (or longer if you want). The gluten begins forming and bonding, the dough starts to strengthen itself. The protease enzymes will break down protein is work on the dough. This then increases the dough and it’s extensibility. As you can see below the dough looks more like traditional bread dough after the autolyse pause rest step. Next you will knead the fold the dough itself for a good 10 minutes or so. Cover the bread dough with a damp kitchen towel (or plastic wrap and towel) and let it rise for 8 to 10 hours at room temperature. This bulk rise I will typically let rise overnight. After the bulk rise, gently remove the dough from the bowl onto a lightly floured surface. Tuck the edges of the dough into the center and work around the edges until you’ve tucked them all in. Flip the ball dough over. Let it rest for 5 to 10 minutes. Using your hands, gently pull the dough ball towards you, letting its grip on the counter pull it into a tighter ball. Rotate the dough slightly and repeat around the edges until you’ve formed a tight ball. Prepare a bread proofing basket, if you have one, by dusting it well with flour. You can use a medium mixing bowl (about 8 inches across). To prepare the mixing bowl, you’ll want to coat it generously with cooking spray and then flour very well, or you can line it with a kitchen towel and dust it very well with flour. Place your dough ball, smooth top down, into your prepared basket or bowl, and cover with a damp towel. Let the dough rest for 1 to 2 hours, at room temperature, or until it’s spread out a bit and looks puffy. If you are planning on cooking the bread in a dutch oven or oven safe pot make a parchment paper template with straight sections to allow lifting of the bread after baking. Ensure that the parchment paper fits into the inside of the pot well. After the dough is risen for the 2nd proof, place the parchment paper cutout centered on top of the proofing basket or bowl. Then place a cutting board on top and flip over the proofing basket/bowl and cutting board. Carefully remove the proofing basket and lower the dough into the dutch over / pot with the parchment paper template. Score the top with a lame, or sharp knife (serrated knife works, too) and as you see I topped the bread dough with some more spices. Now place the COVERED dutch oven in a preheat oven set to 450° F. If you don’t have a lid for you oven safe pot you can use aluminum foil wrapped top. Place the dutch oven in the hot oven and cook for 30 minutes. After 30 mins, remove the lid and put the dutch oven back in the oven, uncovered, for another 20 to 30 minutes. The bread will be very dark and sound hollow when tapped when it is done. You can bake it to your likeness though. Remove the pan from the oven, and then remove the bread from the pan via the parchment paper and let it cool on a wire rack for 1 hour before slicing and serving. Once you get your first sourdough bread under your belt … then start to experiment with additives, spices and herbs. Be sure to try to stay with the 70% hydration ratio with your bread if you want a light and fluffy bread. Also cooking it at the high temp inside the dutch oven, locks in the moisture released from the dough and aids in lifting the dough while baking. The crust this will create will be very crunchy crust on the bread. Sourdough Starter – What is it?
Sourdough Starter – How to make it?
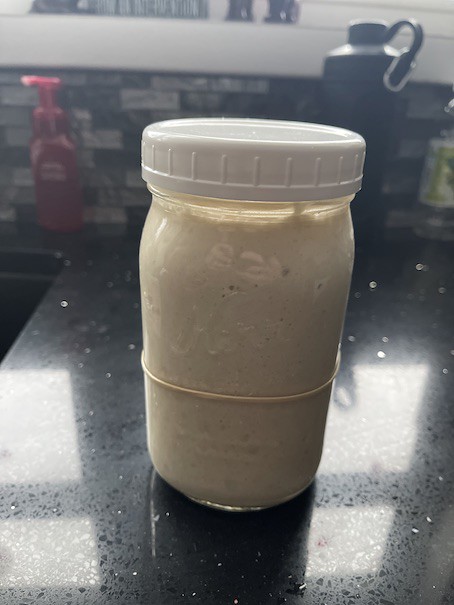
I use a wide mouth mason jar with a rubber banded coffee filter on top. You need something to keep anything from getting into the starter and allow it to breathe.
Once I get to storing it in the refrigerator, I swap out the coffee filter for a plastic lid. I would not use a standard metal lid and band though in fear that it could react from the acidity of the starter. Be sure your vessel has enough room in it as it will more than double in size.
I use a rubber band on the outside of the jar to mark the height of the starter upon feeding it. You could also use a marker as well – but the rubber band is simple and won’t wash away.
I recommend using a kitchen scale that can measure in grams. But you can use volume for measuring out (I’ll provide both weight and cups/tbsp/tsp below.
I use a plastic narrow spatula, one that is smaller than the mason jar opening. You also use a spoon but I would not recommend a wooden spoon since the starter will be sticky and harder to clean off a wooden spoon.
Ok … if you are starting from SCATCH … you’ll want to start with Whole Wheat, Rye Flour or Pumpernickel Flour. The yeast and bacteria actually really prefers whole grain/wheat flour, it’s easier to get the starter going than using just white flour. Once the starter is established you can switch the Unbleached White Flour for feedings
As far as the water. You should use Chlorine Free Water – since chlorine is used to kill harmful microorganisms. Almost all city tap water is treated with chlorine and chloramine. So I suggest using filtered, distilled water or bottled water is you know your tap water is heavily treated … but I’ll tell you, I just use tap water and have NOT had any problems. Yet.
You can either purchase a commercial (Cultures for Life, King Arther, Breadtopia for example) – It can come in powder form, wet starter form or dried flakes. The better way is to get it from a friend, a family member, a neighbor, anyone who is making sourdough bread.
This refresh feeding, enough for four loaves of pan bread in the next 7 to 10 days.


This is where you can lend your friend, neighbor or family member some of your discarded culture.


Sourdough Bread – How to make it?


This step is called autolyse. The pause prior to kneading will enhance the extensibility and possibly increased flavor in your bread.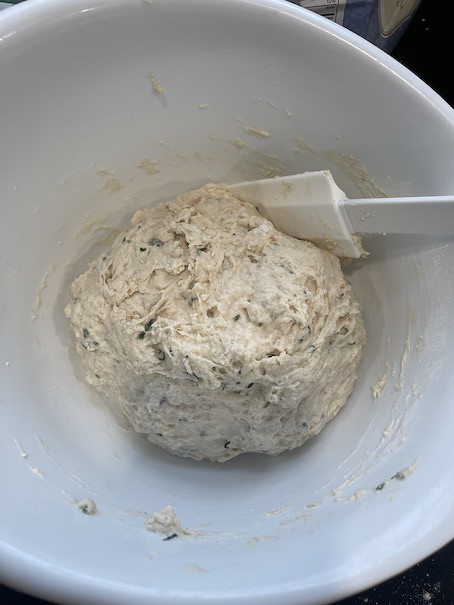
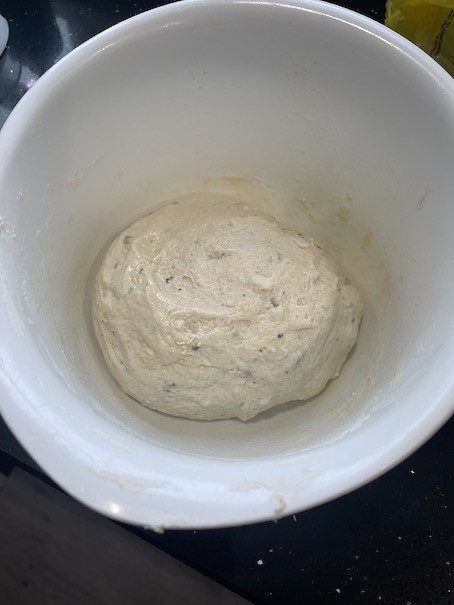
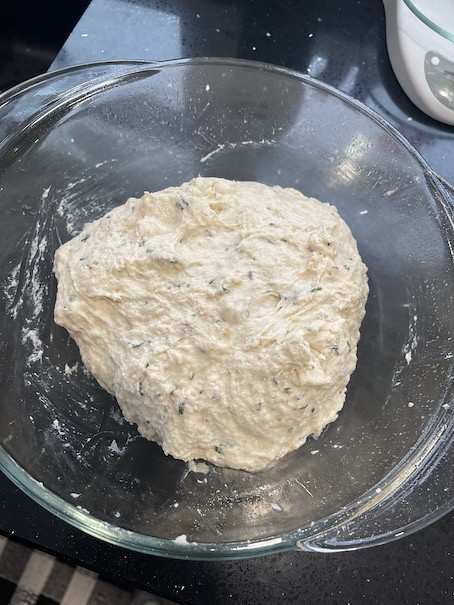
Then transfer the kneaded dough into a lightly greased bowl to mix and bulk ferment.